

Disclaimer: The following information is provided for educational purposes only. The steps and processes mentioned in this article are based on the WordPress platform, and individual experiences may vary.
Table of Contents
So you’re ready to embark on an exciting blogging journey, huh?
Even despite all the tiktokers stating how dead it is? Then good, you are part of the few that truly understand how the world of web 2.0 works.
Since social media came into play, many believed that blogging is a dead mans game. But it’s quite the opposite. It’s actually the very foundation that made all of these social tools relevant. And as we continue to hit paywalls, for every single thing. More people will understand the power of owning your OWN shit.
Honestly, blogging is one way you can stay relevant with minimal effort. We hear compounding interest for your investments but what about taking that same method and doing it for content.
At the beginning it will seem like a lot of work, and it is. But once it is set up, you can figure out a schedule that best fits your goals. And now that we have AI, you can train it to do the tedious tasks for you.
In this blog post, we’ll guide you through the essential steps of getting started. From registering a custom domain name to choosing the best web hosting, I’ve got you covered.
Step 1. Ignore the Naysayers
Selecting Your Perfect WordPress Theme
WordPress offers a plethora of pre-made themes catering to various styles and needs. Here’s how to find and choose the perfect one for your blog:
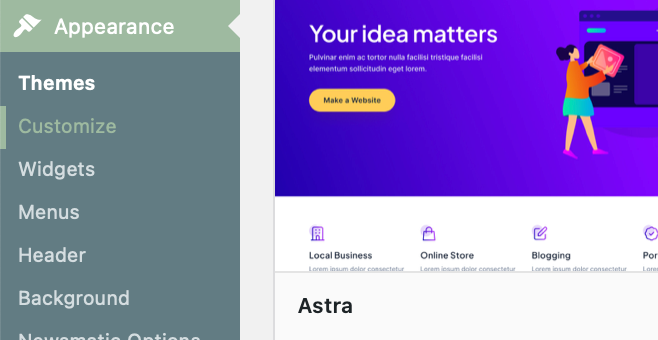
Explore the Theme Library: In your WordPress dashboard, navigate to Appearance » Themes to browse the vast collection of free and premium themes available. WP allows you to narrow down your options based on designs using the filters tab.
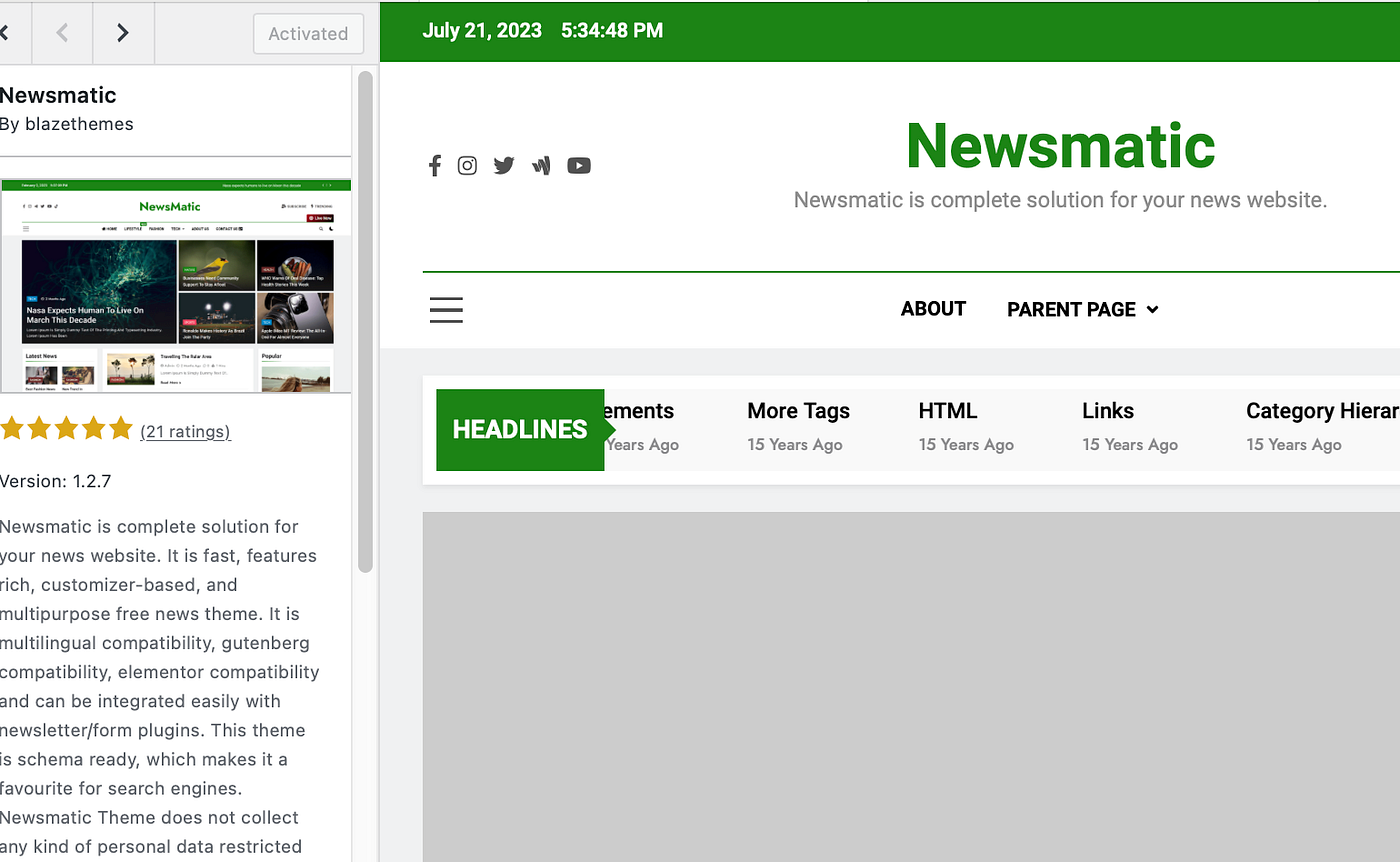
You’ll want to learn more about the theme, so go ahead and shoot over to YouTube to see what others have to say. I’ve seen much talk centered around the Twenty Twenty theme. I tried it but then later decided to use Newsmatic.
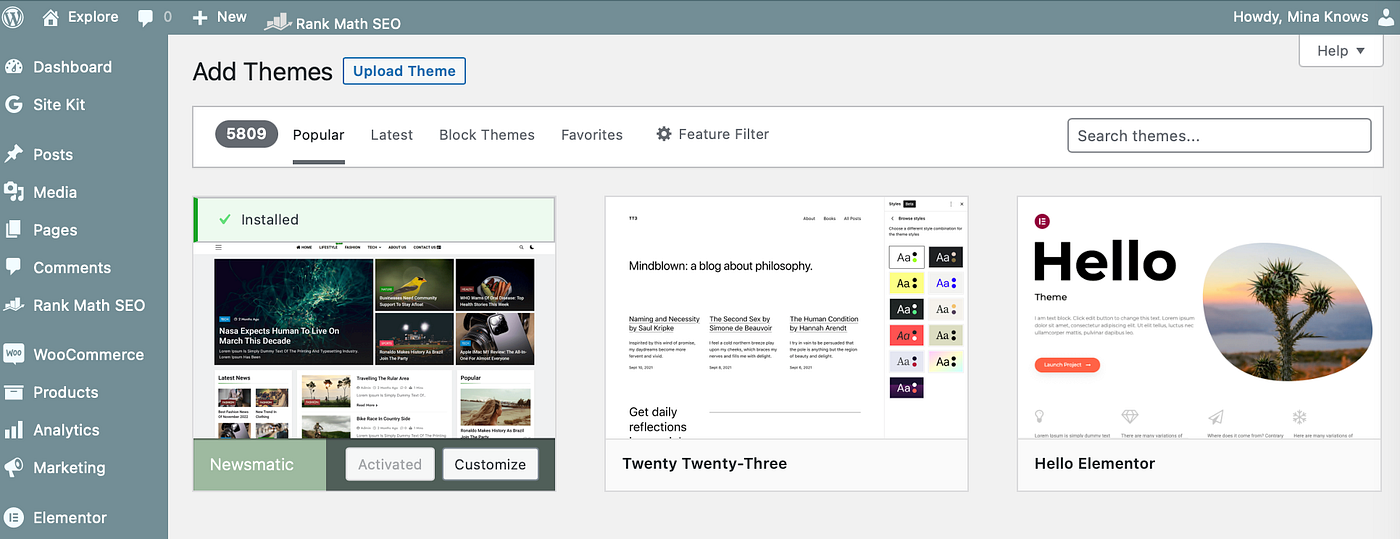
2. Choose between Free vs. Premium Themes: WordPress has different options. Free themes are cost-effective, while premium themes offer advanced customization options and dedicated support.
I recommend getting started with a free version for the beginning phase. Once you have found what you like, and your audience count increases, then work on going premium.
To be honest, purchasing something doesn’t make sense when you have no idea what works for you and your target audience. I get you need to spend money to make money, but in this case, lets save some bucks for now using what is available. Trust me — you will thank me l8ter.
How to Install Your WordPress Theme
Once you’ve found the perfect theme for your blog, follow these simple steps to install it:
- Go to Appearance » Themes in your WordPress dashboard and click the “Add New” button.
- Use the search bar to find your chosen theme, and click the “Install” button next to it. After installation, click “Activate” to set it as your active theme.
3. Customize your theme further by navigating to Appearance » Customize. Here, you can modify colors, fonts, layouts, and more to match your blog’s branding. This is where you make the magic happen.
4. Now remember, with the free theme, you are limited. This is where plugins come into play. The plugin section allows different features to come to life.
If you haven’t already, try to make a list of things you want your blog to have. Visit other successful blogs and make note of what they are doing. Then try to replicate it, with your own spin. Use it as reference to build your foundation.
By now, you have created your site and established a theme and plugin. Now you need the stuff that will keep people coming back — Content.
Creating Your First Blog Post
- In your WordPress dashboard, click Posts » Add New to open the blog post editor.
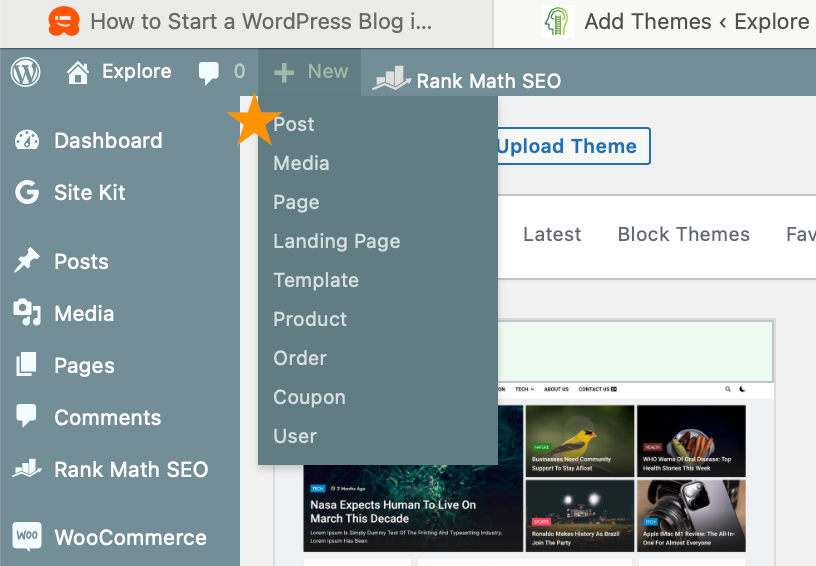
WordPress uses a block-based editor, “Gutenberg”, which makes creating content more accessible and more visually appealing. This was not the case before an update that happened in 2018. You can drag and drop what you need straight into the default editor.
This is where creators will build their post layout. You’ll spend most of your time here. Once you get the hang of how you want your blog to look, then you can optimize it by making it into a template.
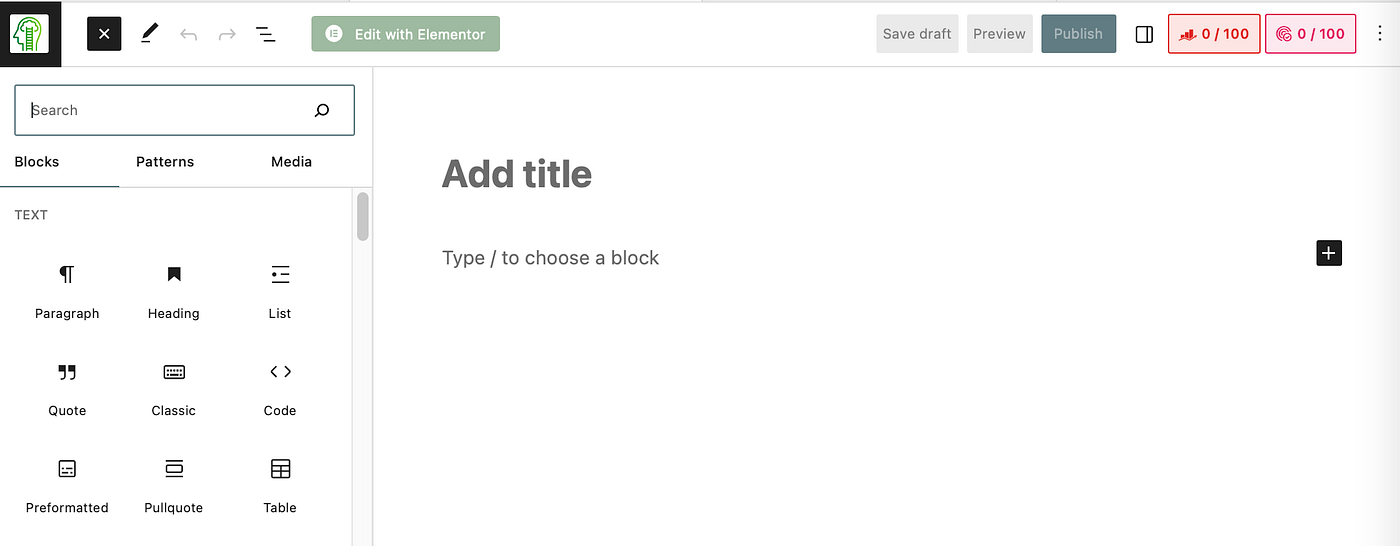
2. To write your blog post content, just click on the middle of the page or choose a block. Use formatting options such as bold, italics, and bullet points to enhance readability. The goal is to make your content valuable but also design it in an easily digestible way.
5. Once satisfied with your blog post, click the “Save Draft” button to save your progress. Then, go back and do a review. Check for grammar and read it out-loud to make sure it flows right. Only after will you be ready to hit “Publish” to make your post publicly available.

Final Thoughts
With your WordPress theme selected and your first blog post created, you’ve achieved significant milestones in your blogging journey. Part 3 of our series will delve into more advanced aspects of blog post creation, including understanding categories, embedding videos, adding blog images, utilizing headings and sub-headers, and differentiating between pages and posts. Stay tuned for valuable insights to enhance your blog and create engaging, captivating content.
Ready to take your blog to the next level? Join us for Part 3 of our series, where we’ll dive deeper into the world of blog post creation.

